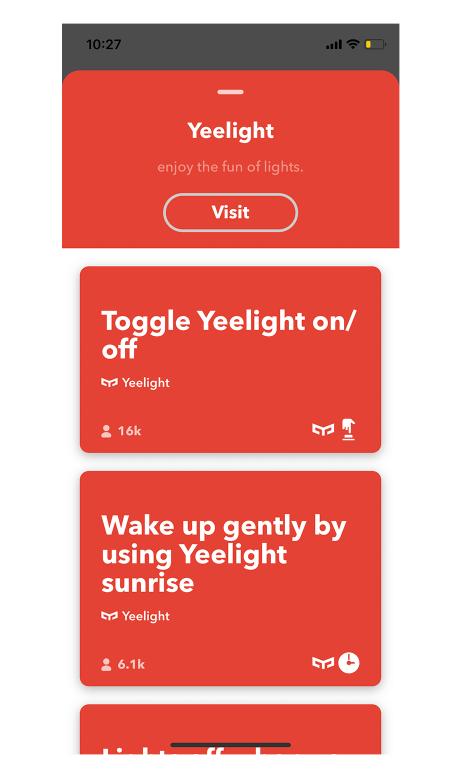
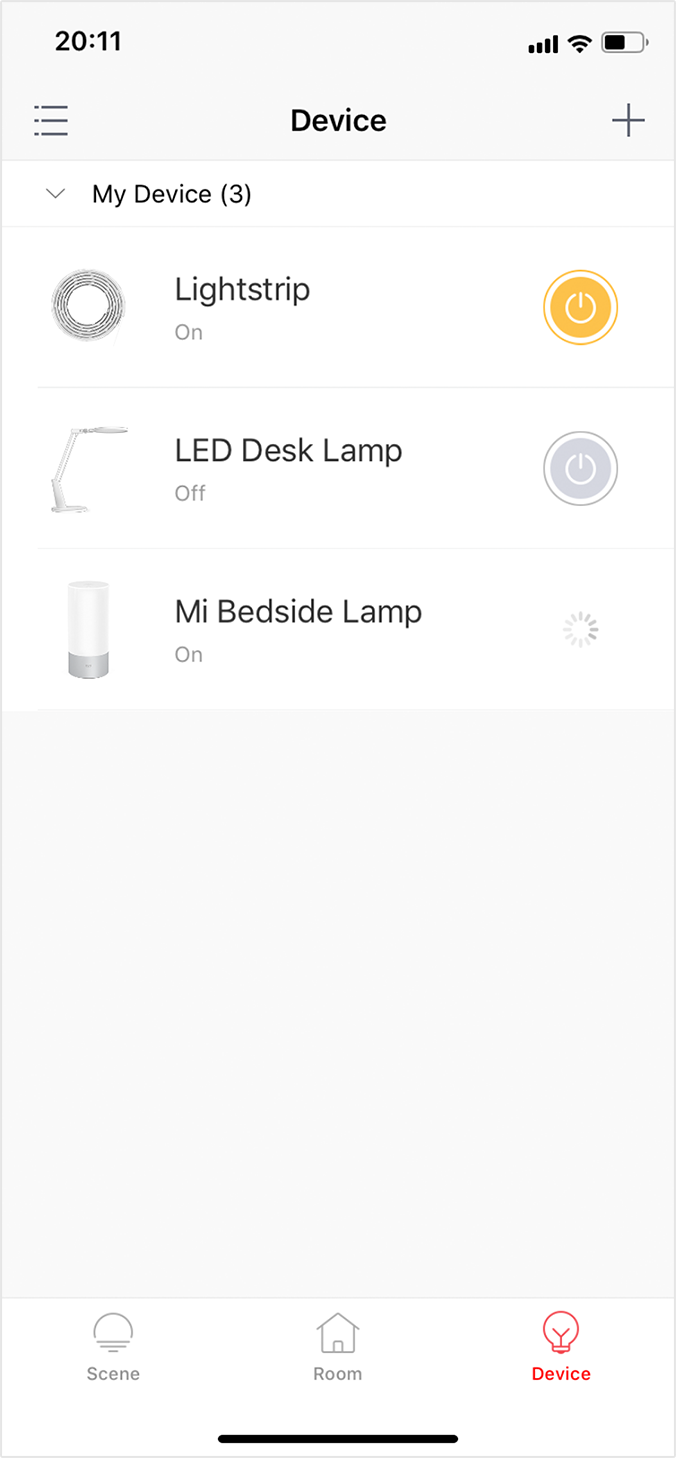
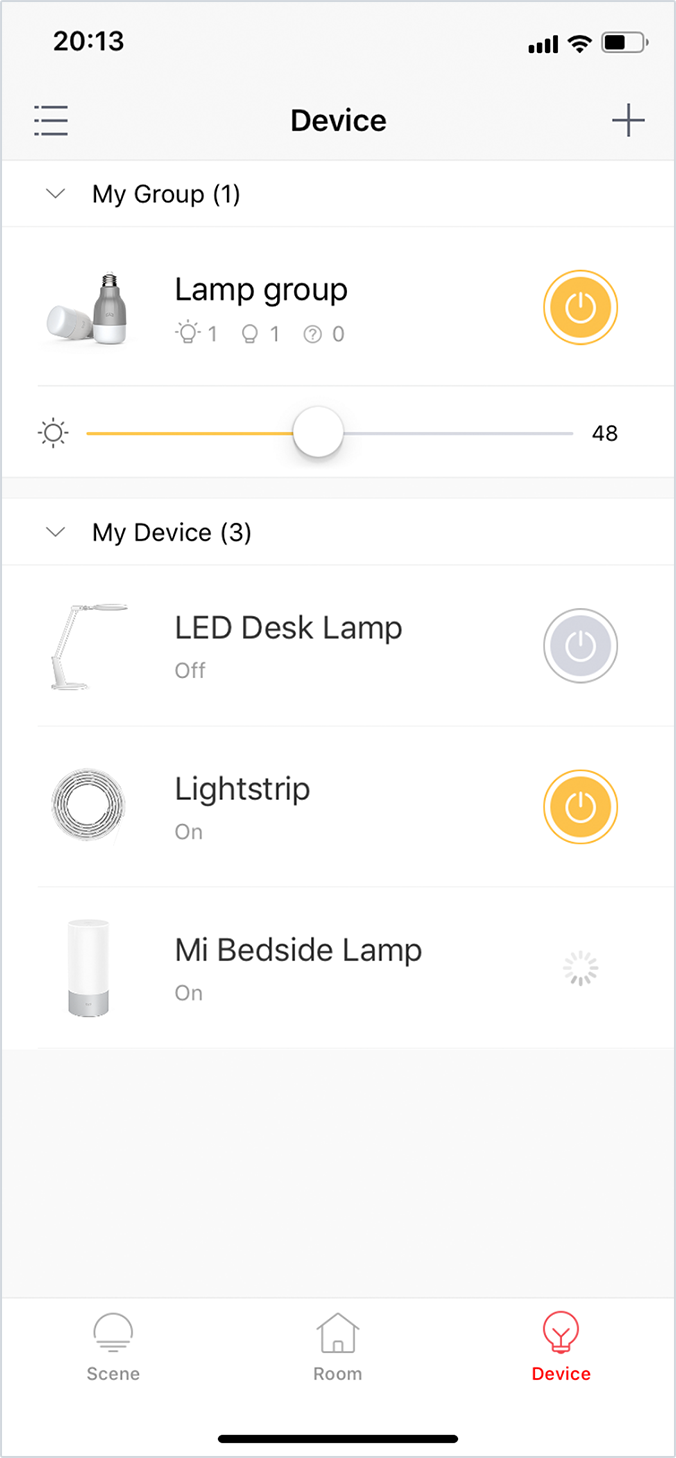
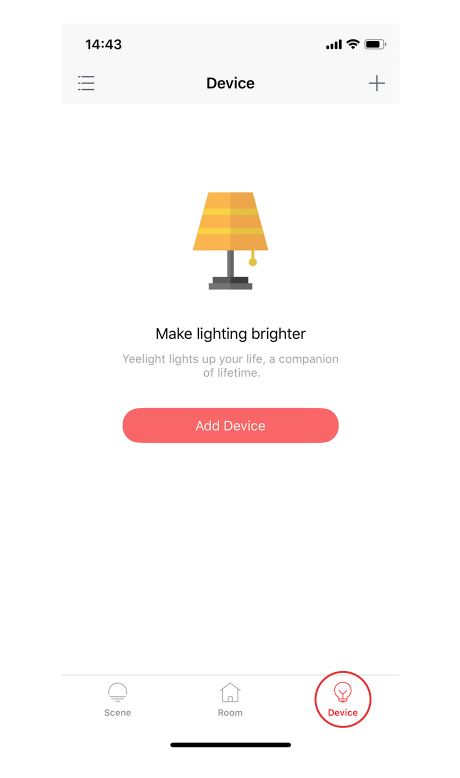
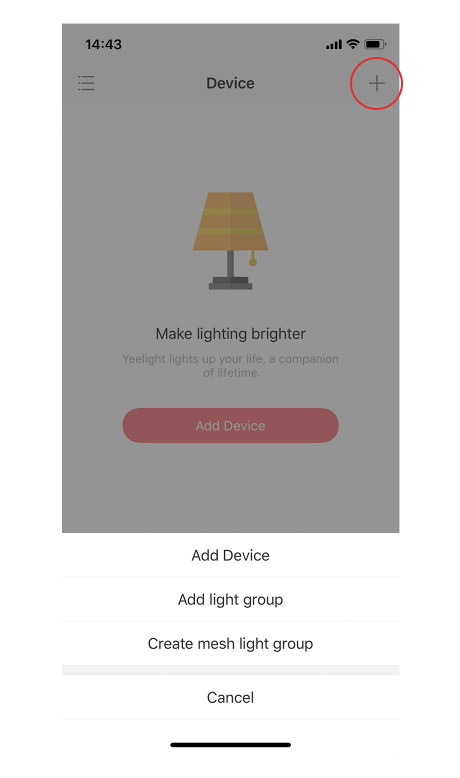
01 Download Yeelight App and sign in to your account. Click “Device” icon on the lower-right corner.
02 Click the “+” on the upper right to add device.
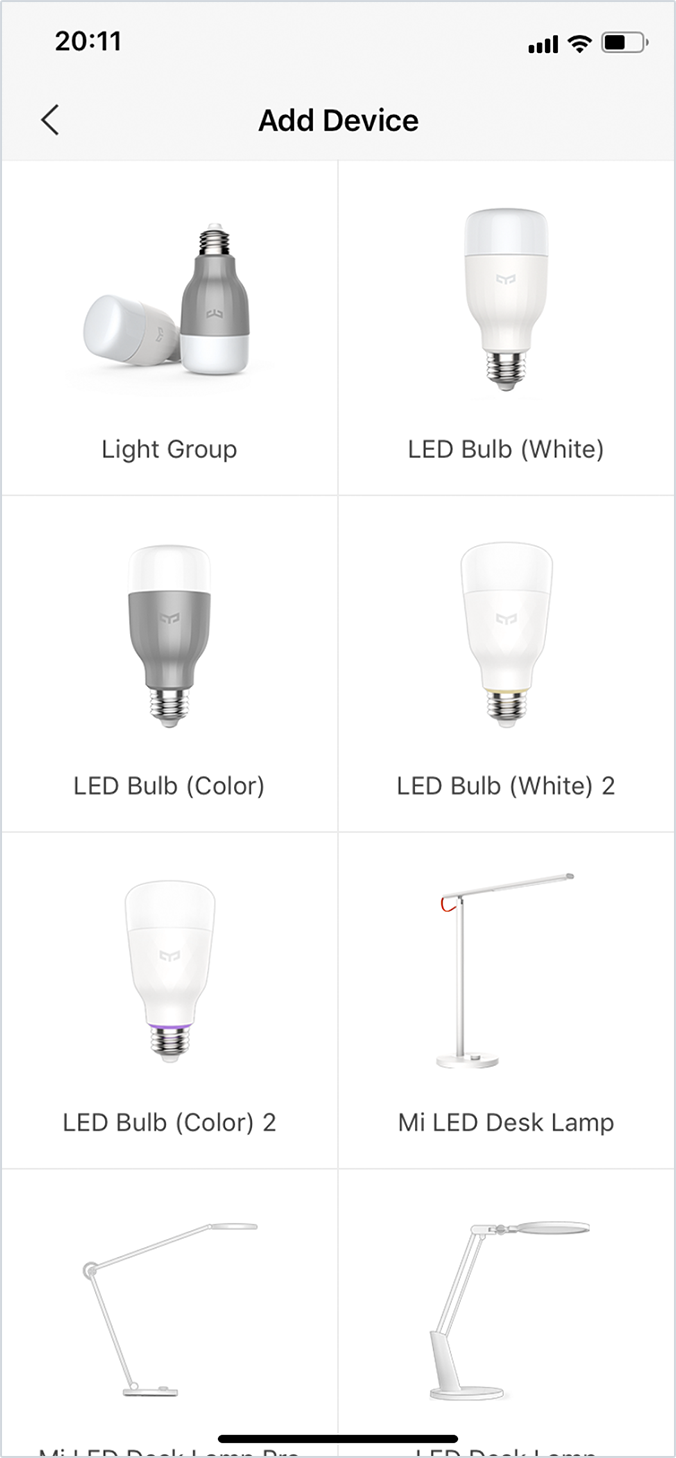
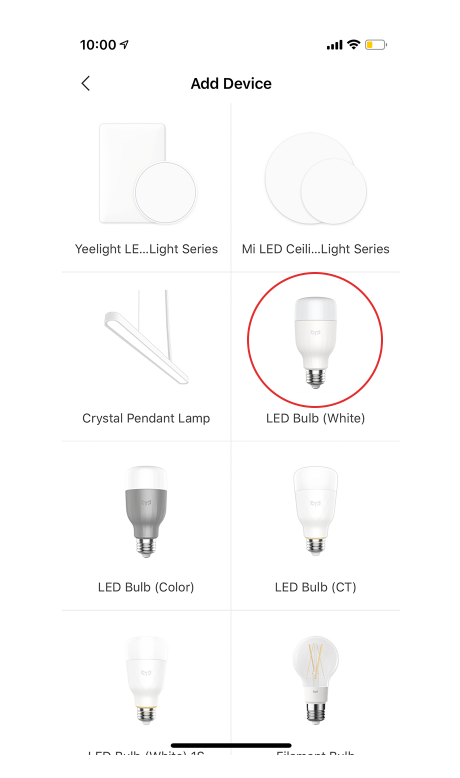
03 Select the device you would like to add. This instruction uses Yeelight LED Bulb (White) as an example.
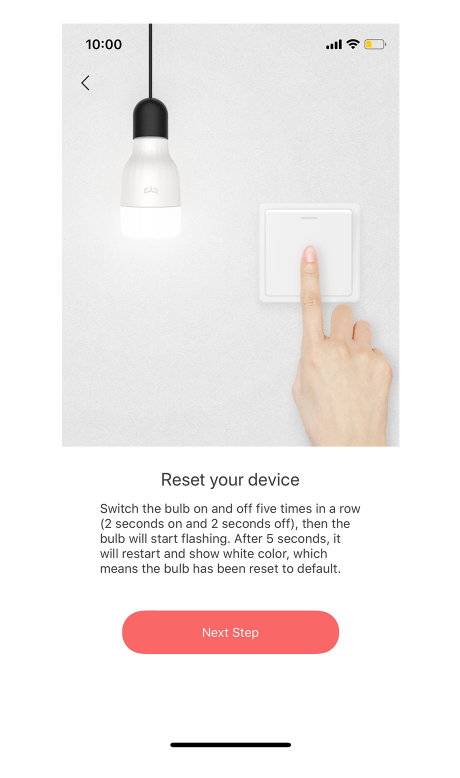
04 Follow the instruction on screen to reset your device.
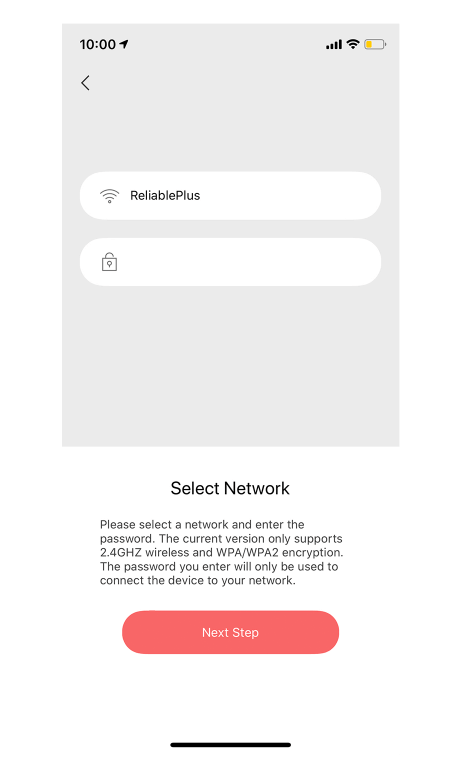
05 Select the 2.4G Wi-Fi network to be connected with and enter the password.
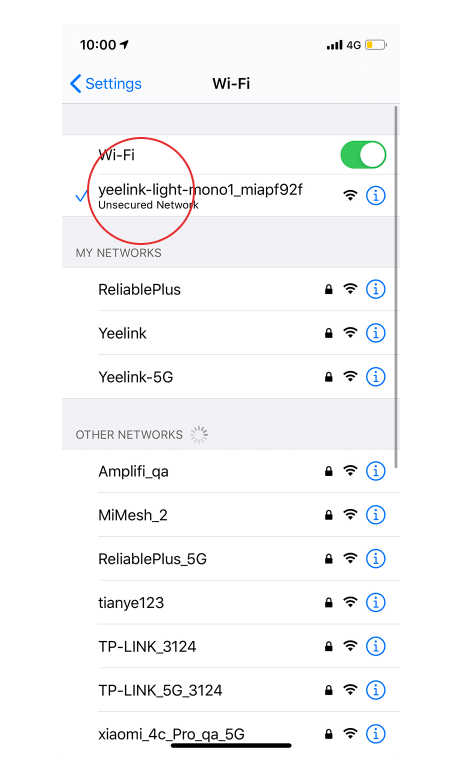
06 Go to WiFi setting.
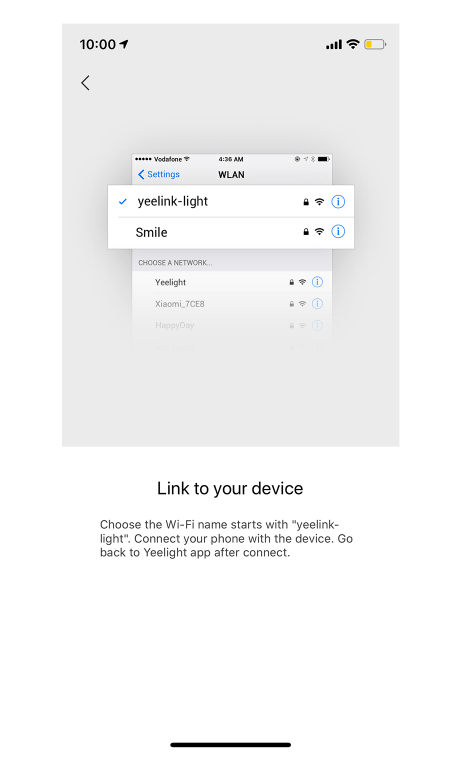
07 Select the Wi-Fi network titled with “yeelink-light-” on the Wi-Fi network list and then go back to Yeelight App.
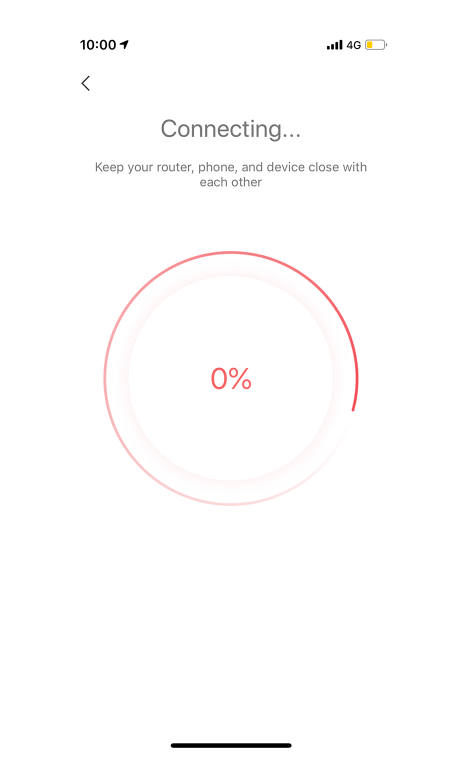
08 Wait for the device to be successfully connected.
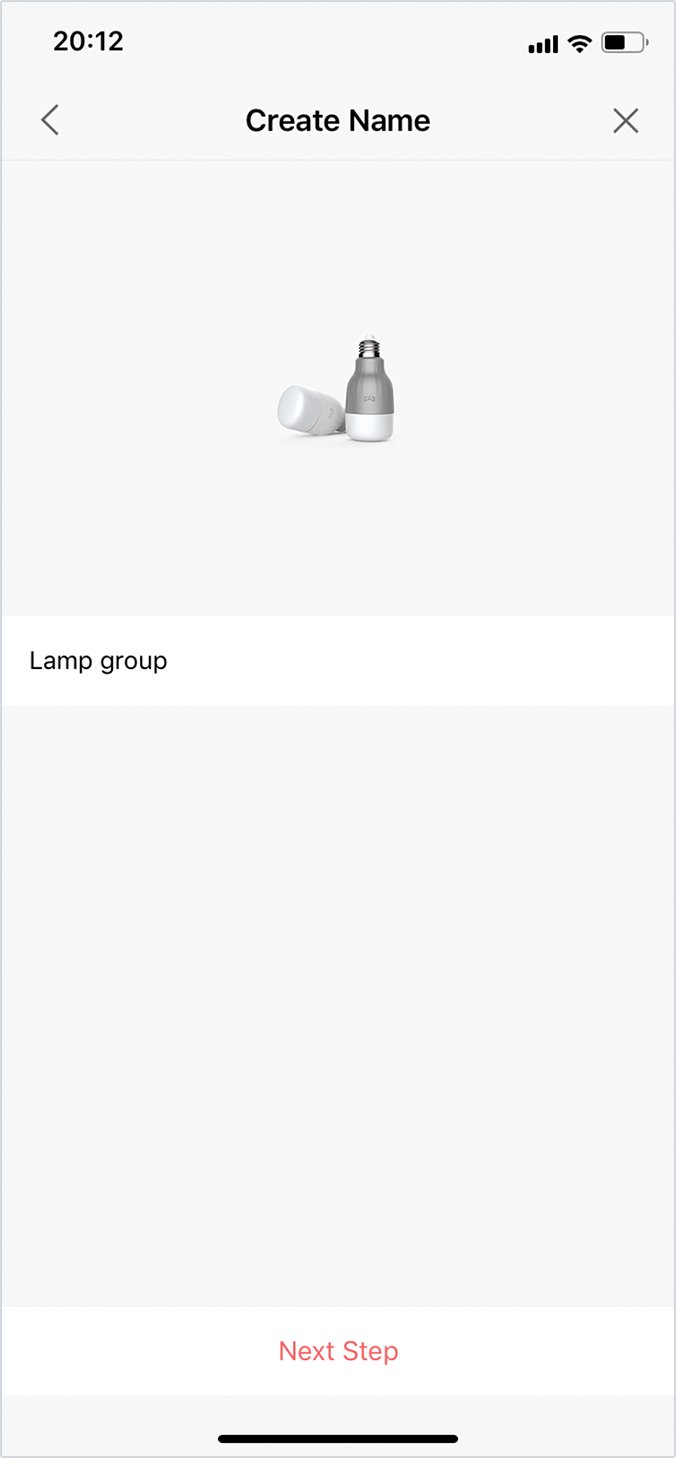
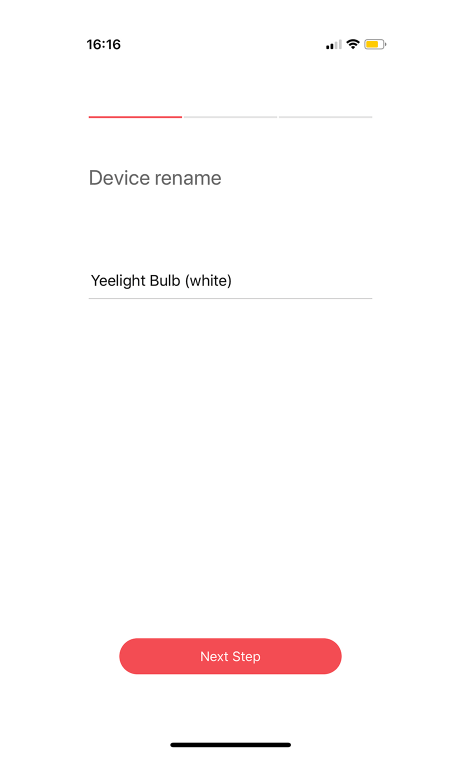
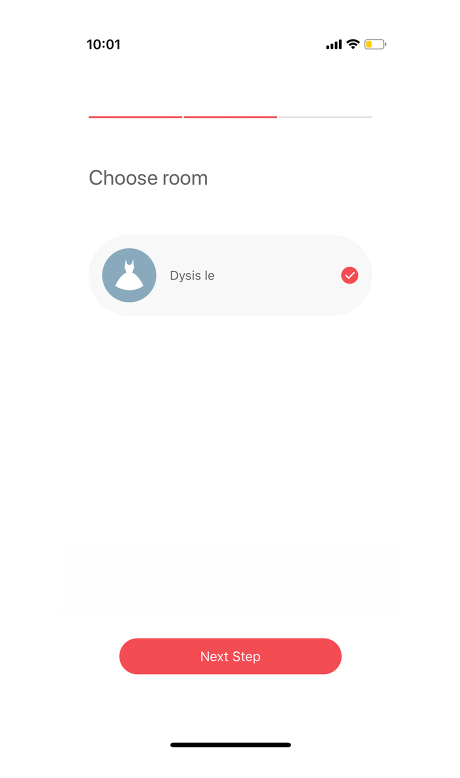
09 You may rename the bulb or assign the bulb to a room.
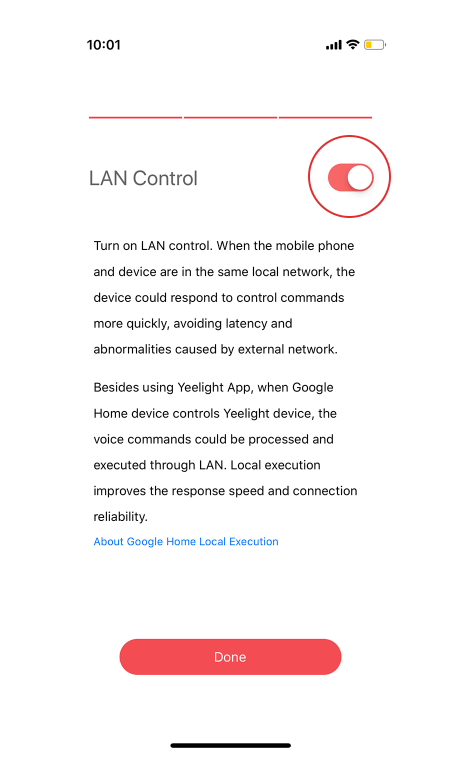
10 Turn on LAN Control for faster device response under local network. LAN Control also allows you to use Google Home Local Execution.
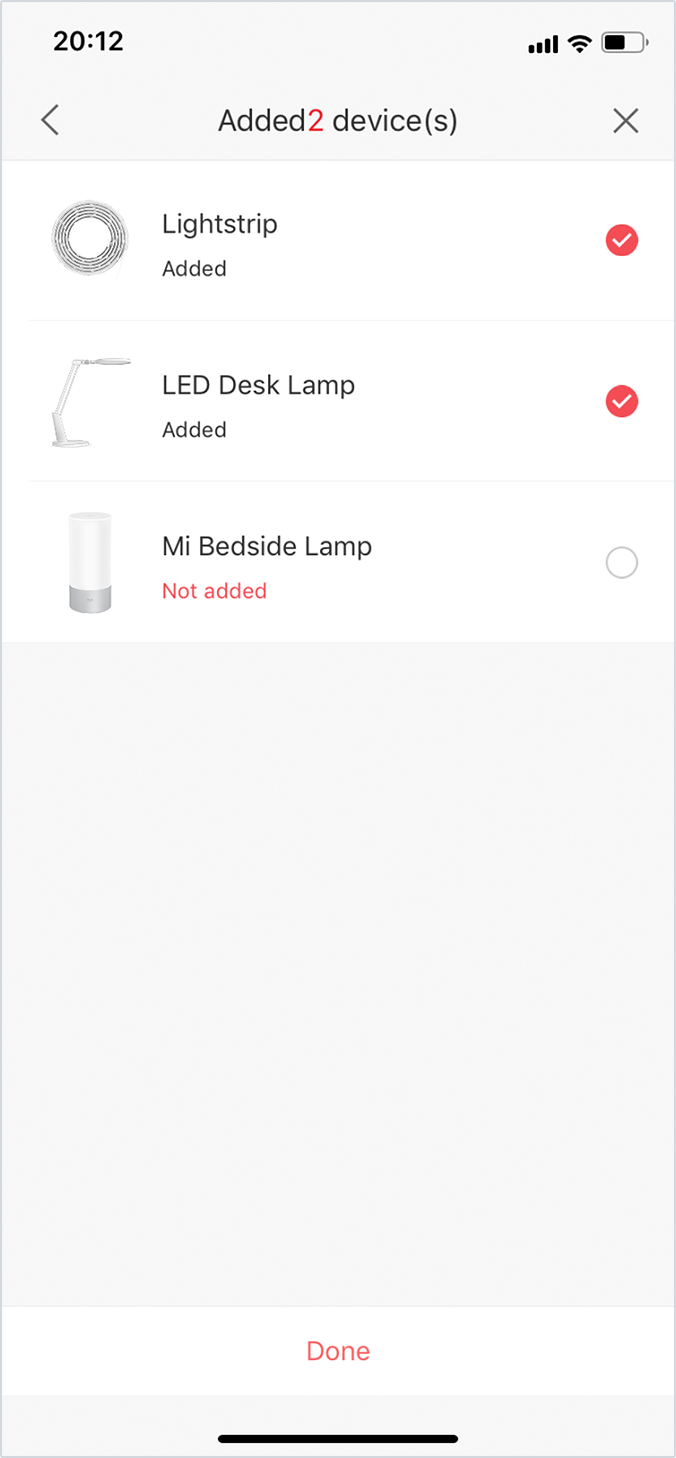
11 The Bulb has been successfully added! Explore what you can do with it!
01 Please set up devices on Yeelight App first.
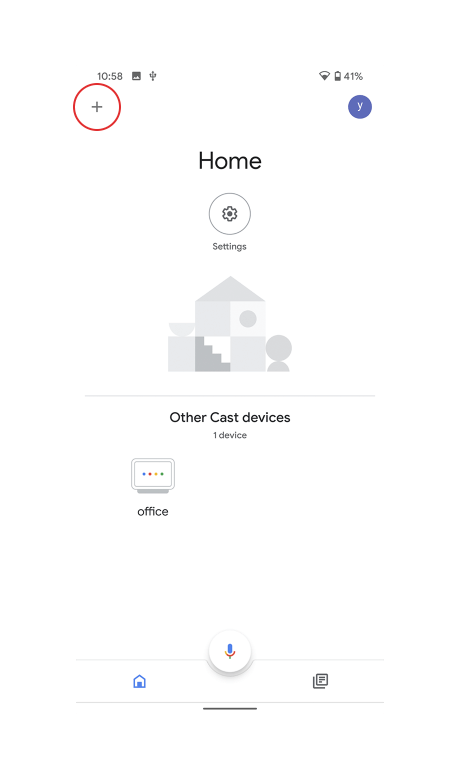
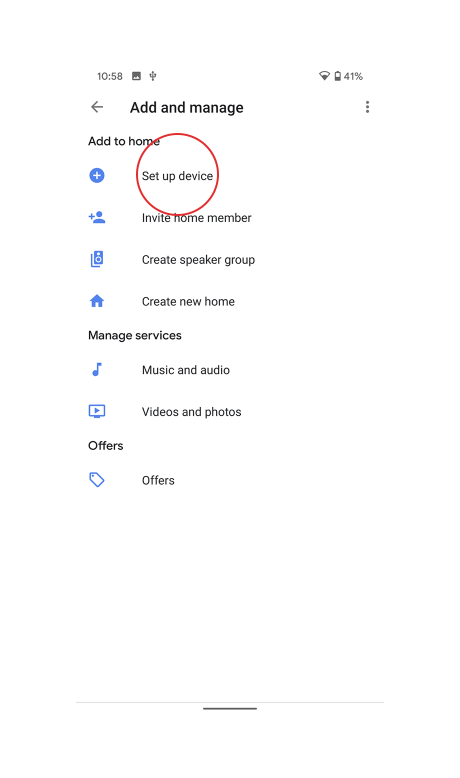
01Open Google Home App, and sign in to your Google account. Select “+” on the upper left.
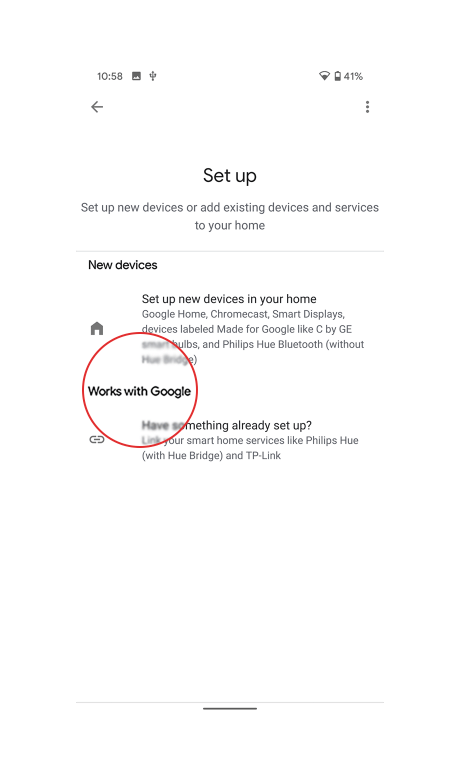
02 Select “Set up device”. Select “Works with Google”.
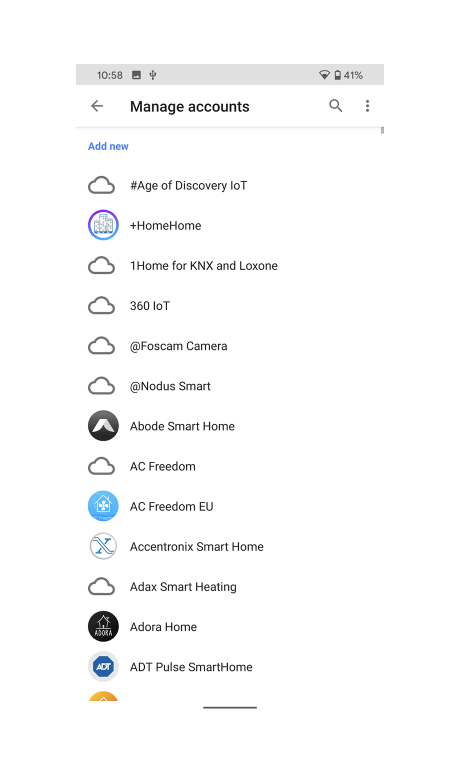
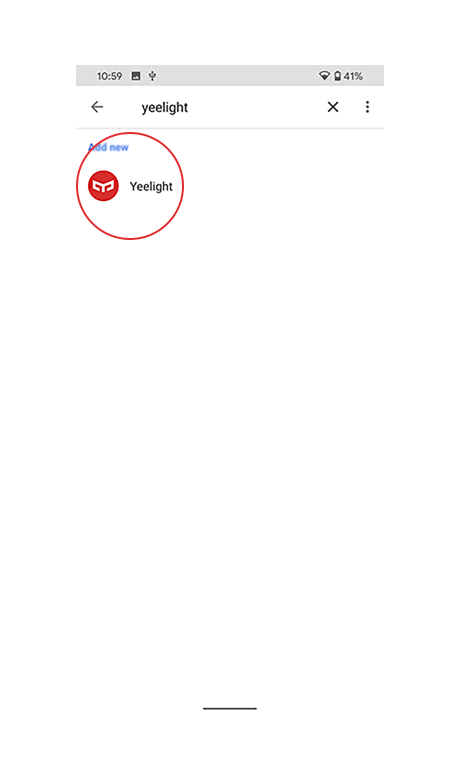
03 Search and select “Yeelight”.
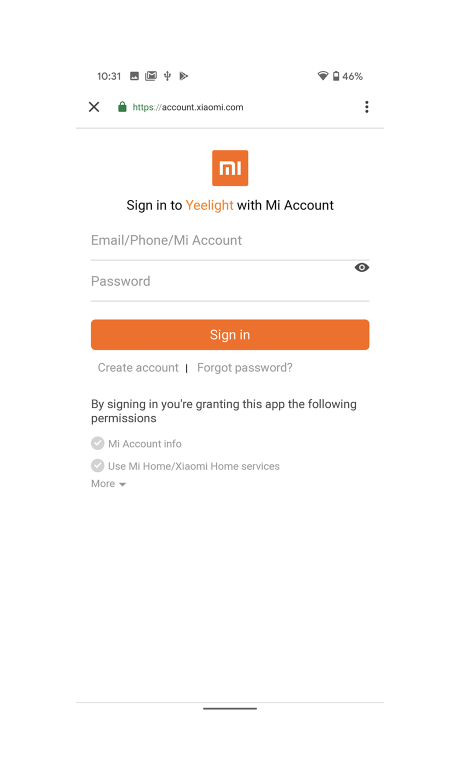
04 Link your Mi account.
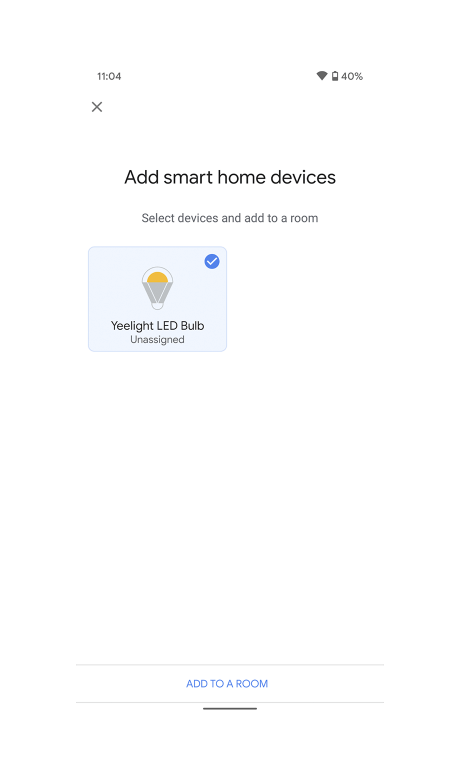
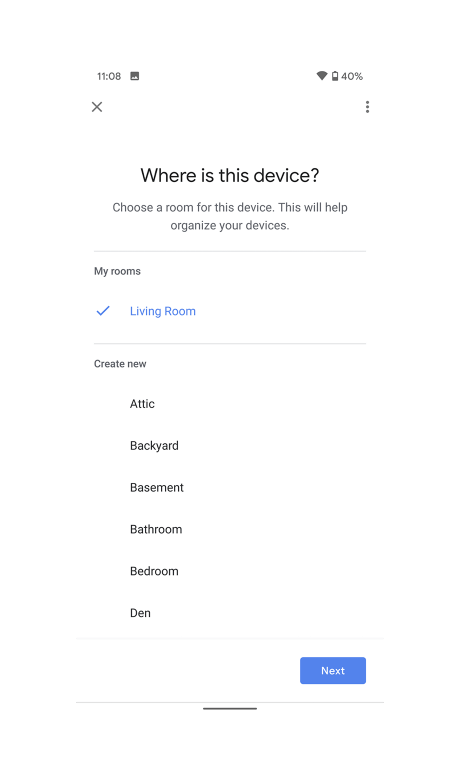
05 All your Yeelight devices will be synced to your Google Home App . Select devices and add to a room.
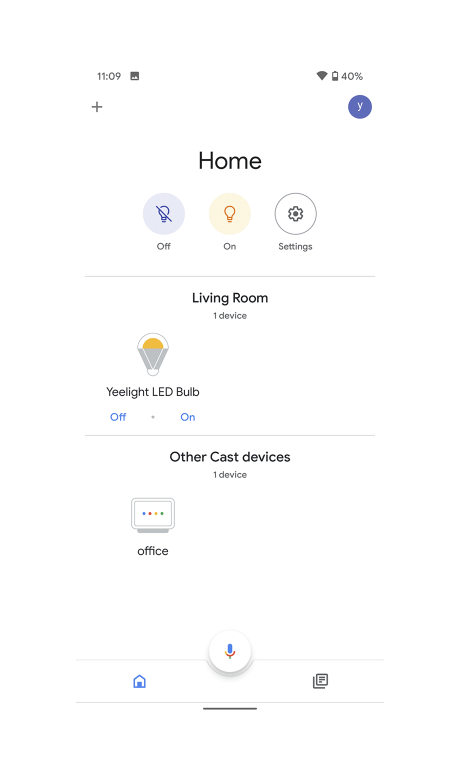
06 Your Yeelight devices have been successfully connected to Google Home! You could control the devices under device management.
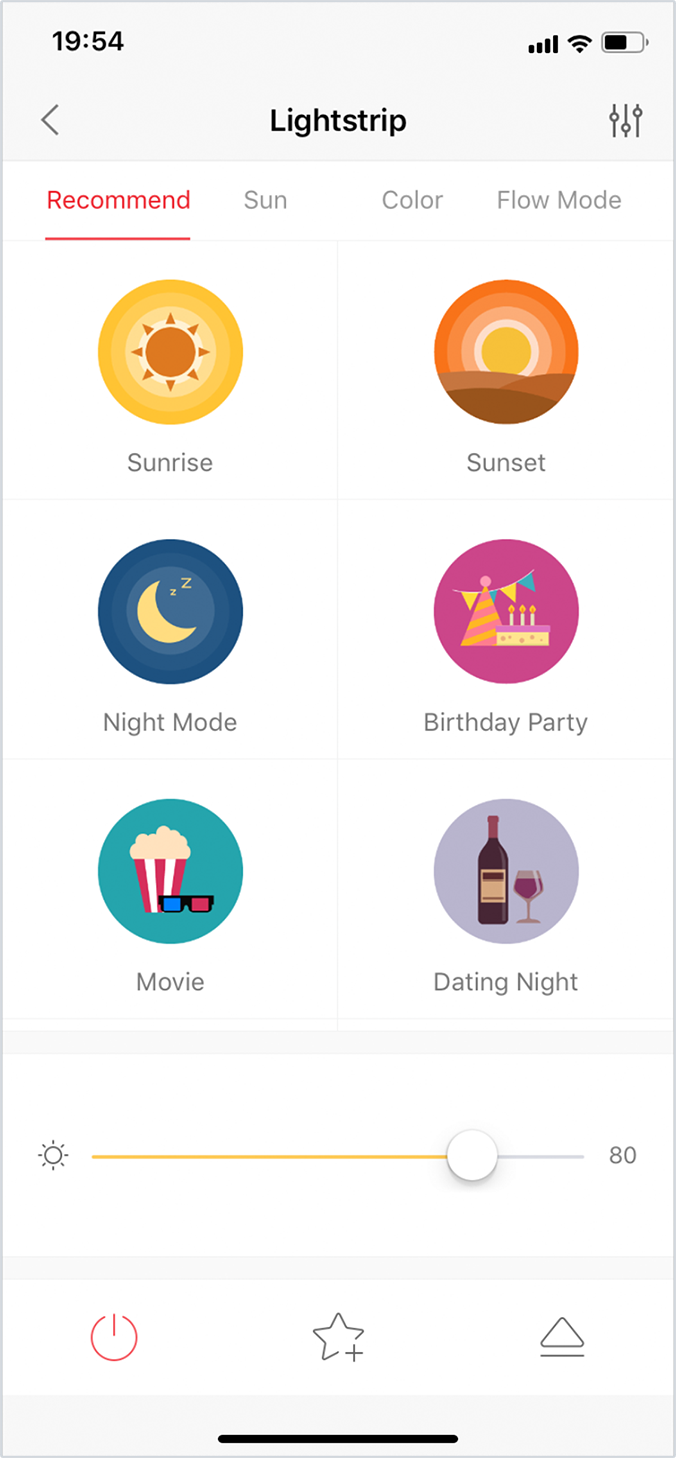
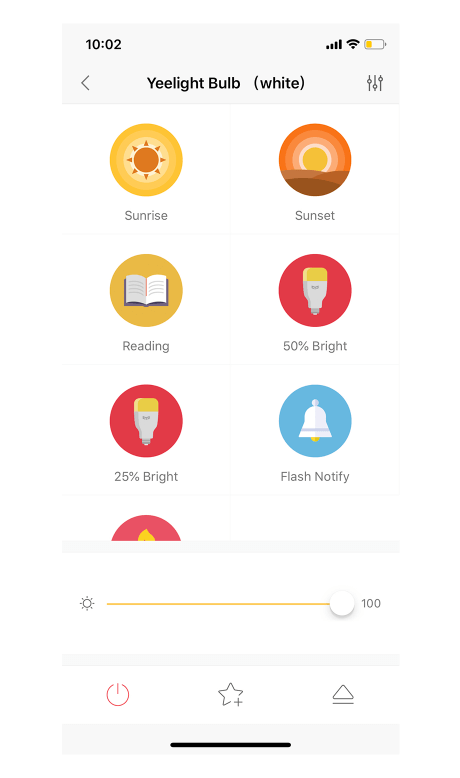
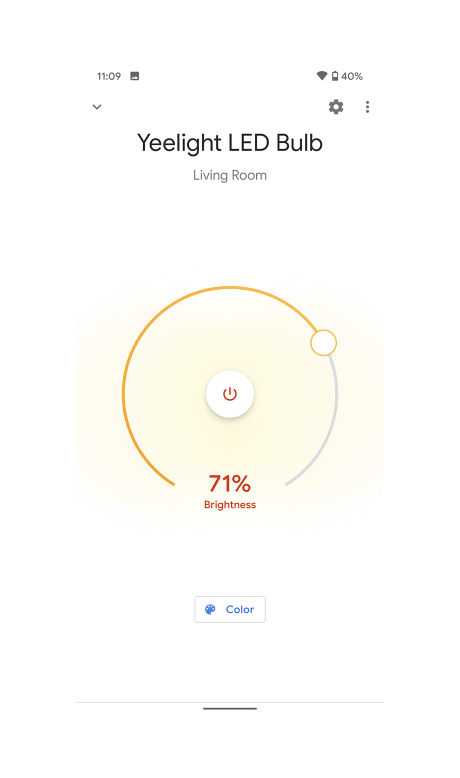
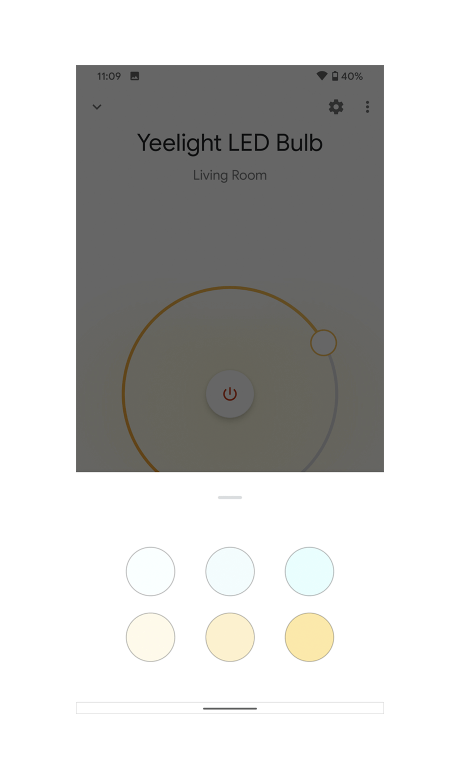
07 Click the device icon to adjust the luminance and color.
To add an accessory to the Home app, use your iOS device. You can’t add accessories to the Home app on Mac.
Before you set up your Yeelight devices, check these things first:
– Check if your Yeelight device work with HomeKit. Yeelight Smart LED Bulb (Color), Yeelight Smart LED Bulb (Tunable White), and Yeelight Aurora Lightstrip Plus support HomeKit with a firmware update. To add these three products to HomeKit, make sure the firmware has been updated to the latest version in Yeelight App. Click here for detailed instruction.
– Make sure your Yeelight device is powered on and nearby.
Then follow these steps:
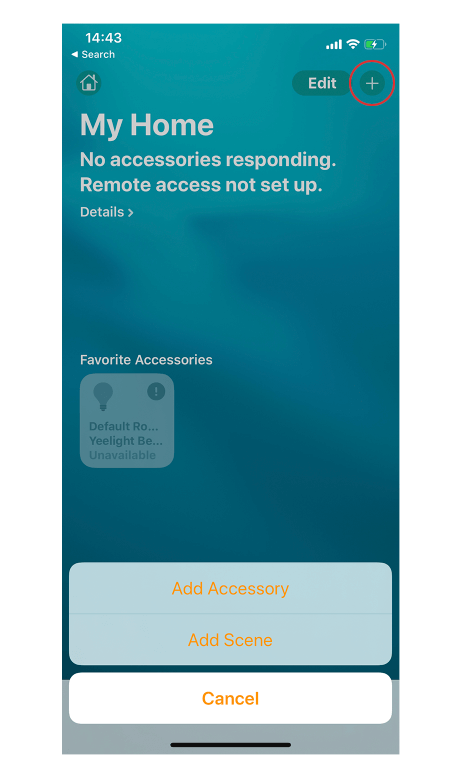
01 Open the Home app and tap Add Accessory or “+”.
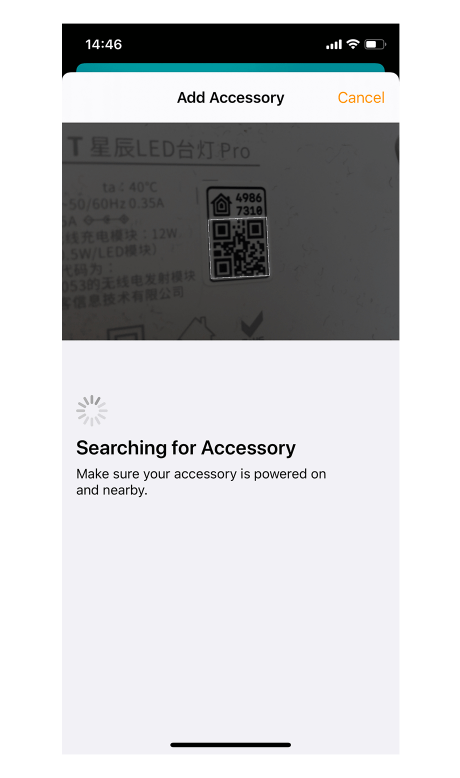
02 Use the camera on your iOS device to scan the eight-digit HomeKit code, or QR code on the product.
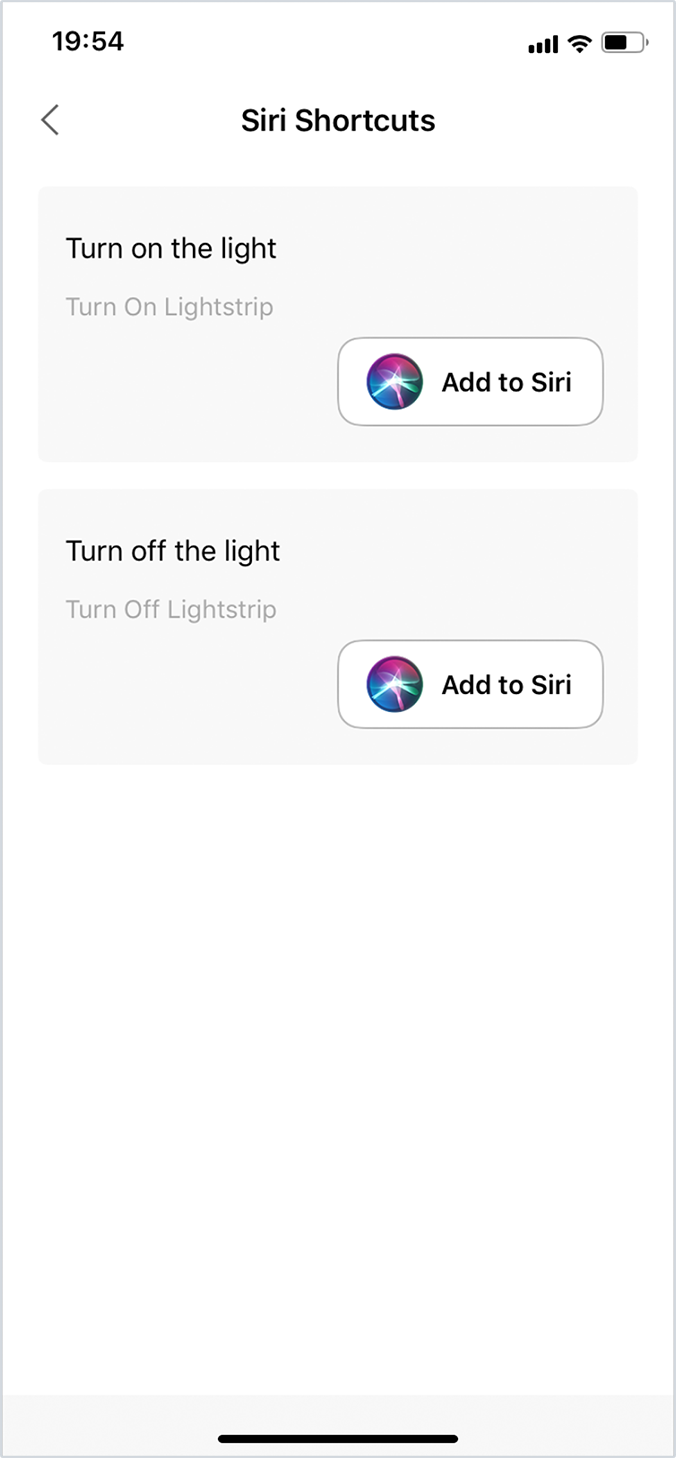
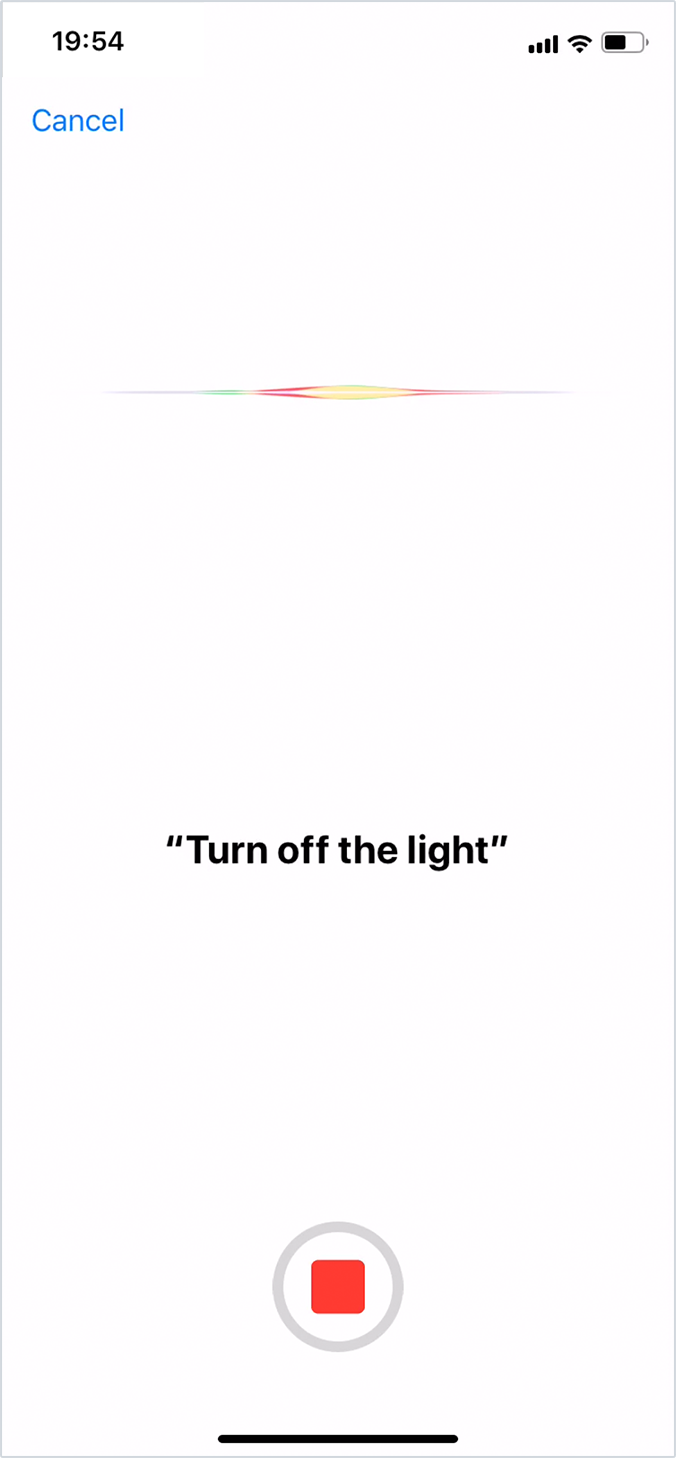
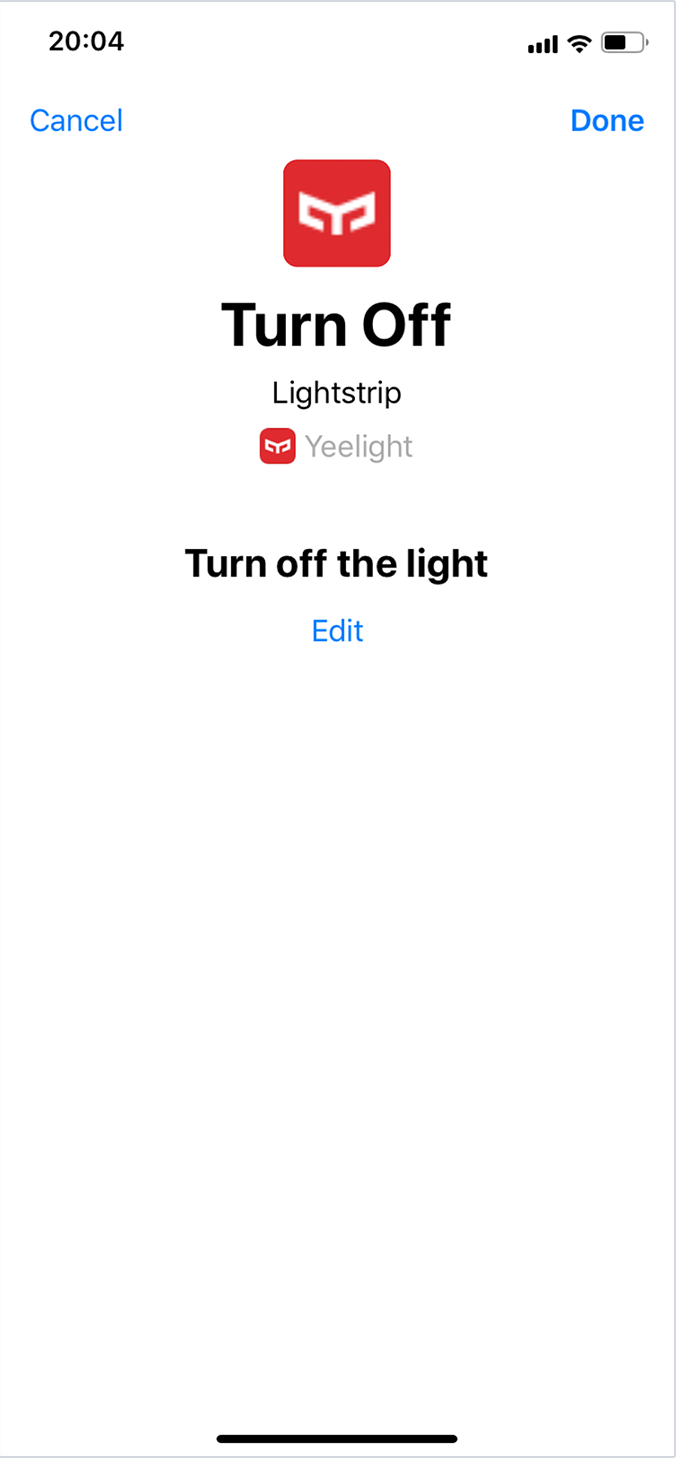
03 Name your accessory and assign it to a room to help you identify it in the Home app and control it with Siri.
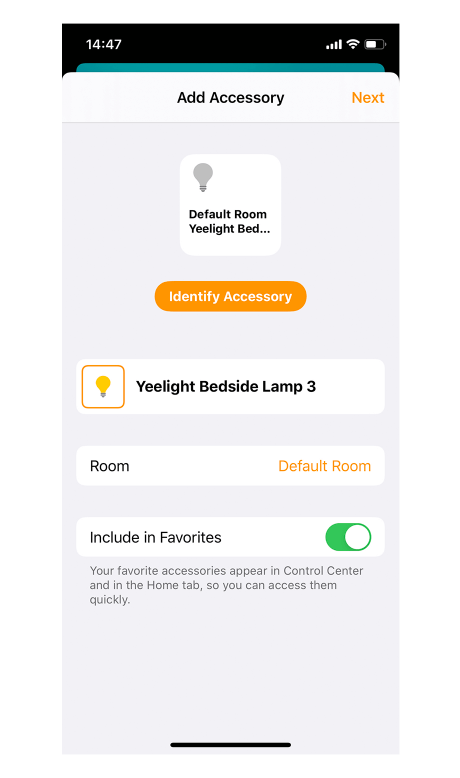
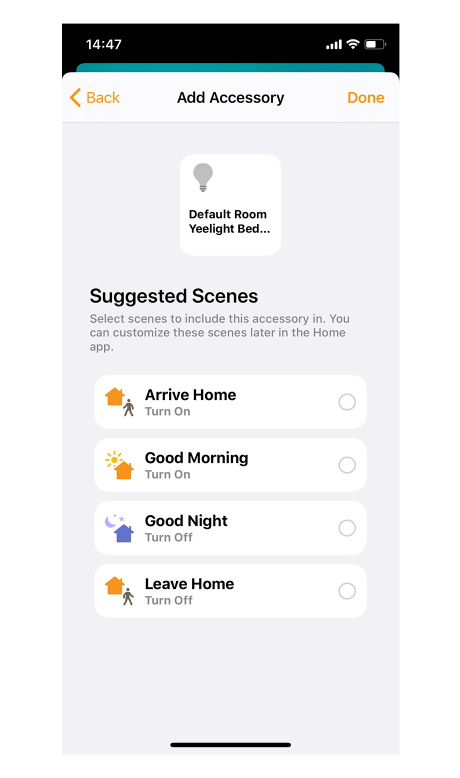
04 Tap Next, then tap Done. Your Yeelight device has been successfully added to Home App!
01 Please set up devices on Yeelight App first.
01Download Amazon Alexa APP and sign up/sign in to your account. Click the menu icon on the upper-left.

02 Select “Skills & Games” in the menu.

03 Search “Yeelight”.

04 Click “Enable to use”.
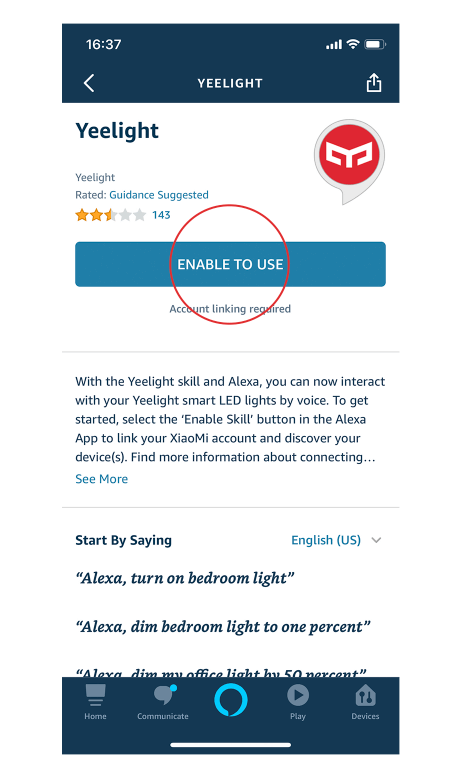
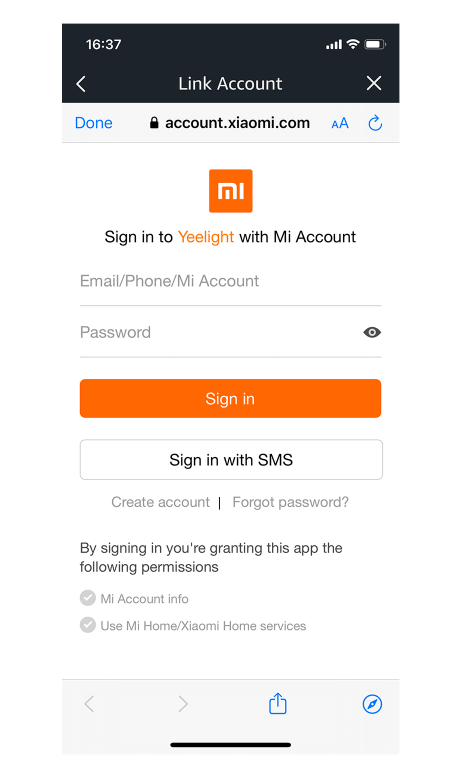
05 Sign in to your Mi Account to link Yeelight devices to Alexa.
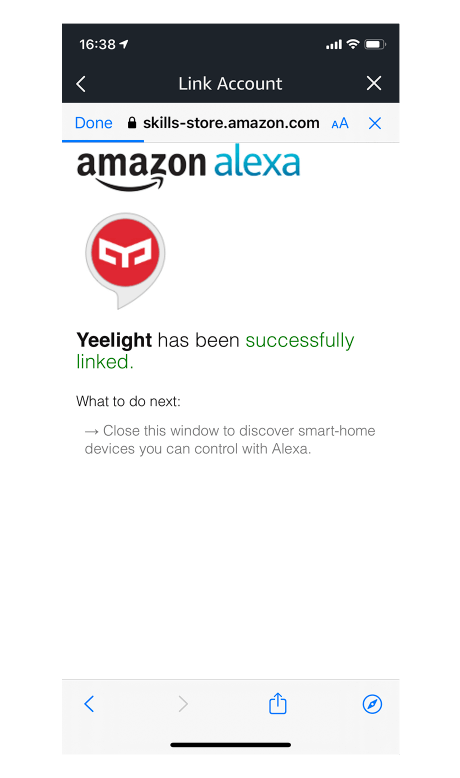
06 Once successfully linked, close the window and go back to Alexa App.
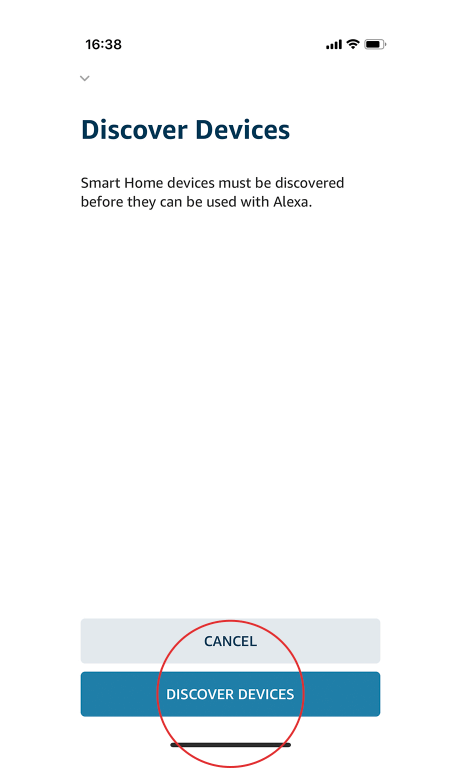
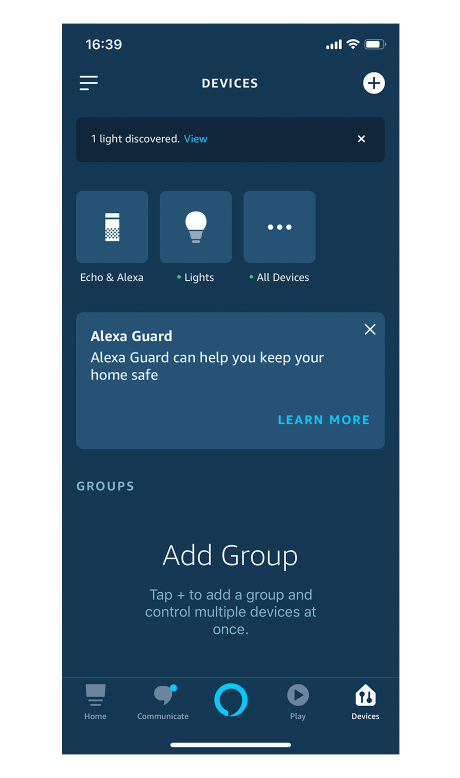
07 Discover devices in Alexa App.
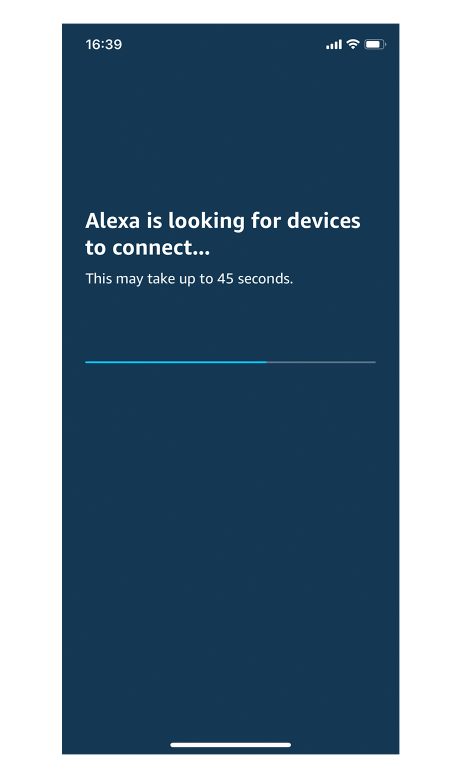
08 Your Yeelight devices have been successfully connected to Alexa!
Please set up devices on Yeelight App first.
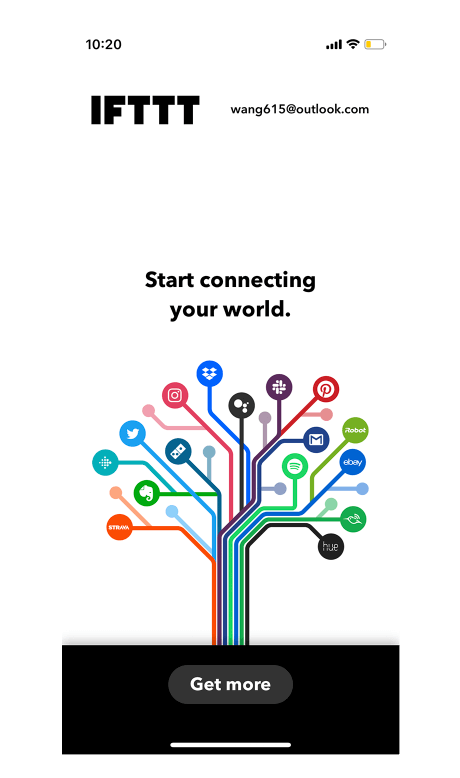
01 Download IFTTT App and sign in to your account. Choose “Get more”.
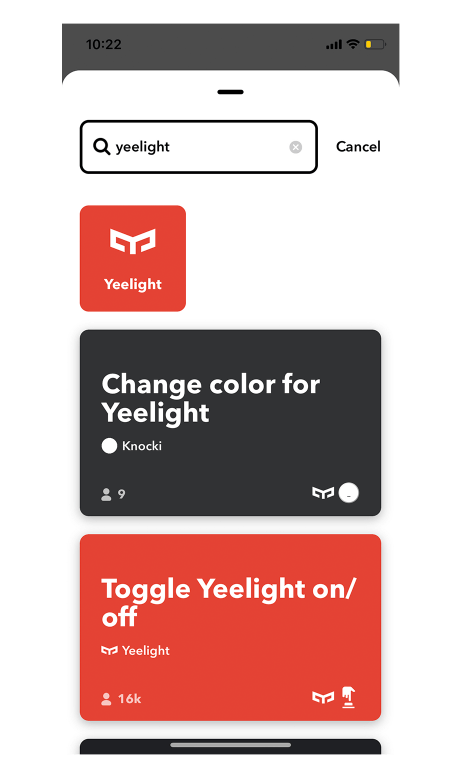
02 Search “Yeelight”.
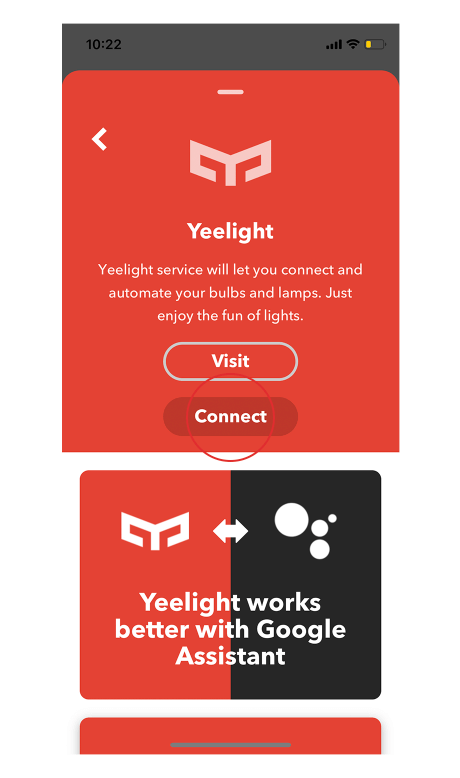
03 Connect Yeelight service.
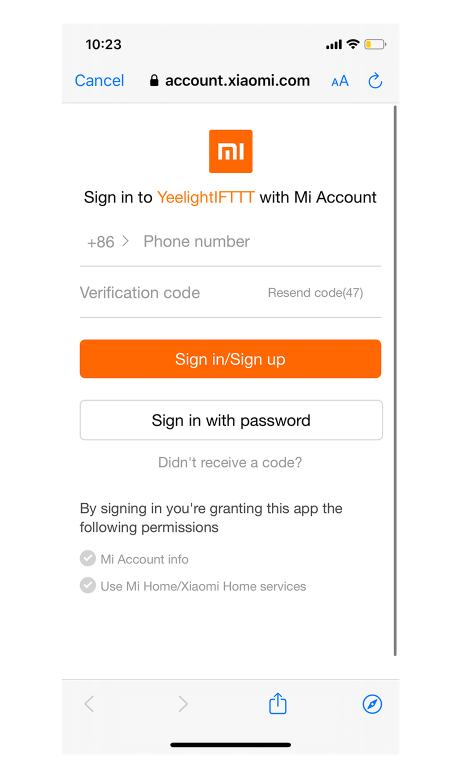
04 Sign in to your Mi Account to link Yeelight devices to IFTTT.
05 Yeelight service has been successfully enabled! You could create your own applet or use applet templates and enjoy the fun of lights!